


Hyundai Staria: when to replace the cabin air filter
Hyundai Staria
Hyundai Staria•
•33 views
In a Hyundai Staria, check ventilation at the front and in the passenger area. Some versions also have a separate rear climate control filter. A service record that simply says “cabin filter replaced” does not establish which elements were serviced or explain reduced airflow in the rear rows.
Start with your vehicle’s maintenance schedule and equipment specification. The schedule reviewed for the 2025 Staria US4 specifies 15,000 km or 12 months. Dusty routes may require earlier inspection and replacement. Poor cooling alone, however, does not prove that the filter is responsible.
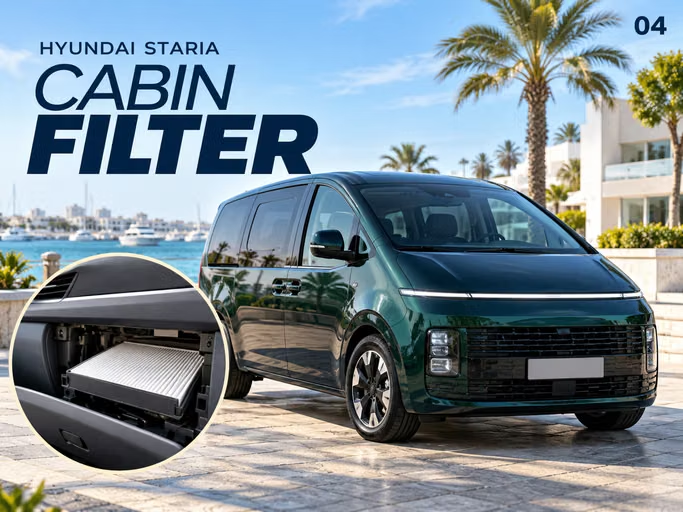
Scope: this article uses the 2025 Staria US4 owner’s manual. Confirm the schedule by VIN for a different model year or version. The cover illustrates the topic and is not a dismantling diagram.
When to replace the filter
Distance and time
In the 2025 Staria US4 owner’s manual, the general maintenance table for petrol and diesel versions marks the Cabin air filter for replacement every 15,000 km or 12 months, whichever comes first. Check this table against your vehicle’s service booklet; the interval should not automatically be applied to every Staria.
Keep the date, mileage and part number for each replacement on the service record. If the history is unknown, begin with an inspection. A general “air conditioning check” does not confirm that a new filter was fitted, and low mileage does not cancel a time-based service requirement.
When to inspect sooner
The filter inspection section on ownersmanual.hyundai.com calls for more frequent attention after prolonged use on dusty roads or in heavily polluted air. Tell the workshop about regular construction-site access or unpaved routes. A shorter interval should reflect operating conditions rather than being assigned equally to every vehicle.
Which symptoms to check
With the vehicle stationary, open the vents and select a fixed fan speed. Keep the airflow direction and recirculation setting unchanged when comparing results. For the rear area, check that its climate unit is switched on and review the controls. Front and rear outlets are not expected to produce identical airflow.
| Observation | Next step |
|---|---|
| Less airflow at the usual settings | Inspect the relevant filter and check how it is fitted. |
| Normal front airflow but weak rear airflow | Check rear settings, the intake and the filter, where fitted. |
| Strong airflow but insufficient cooling | Check A/C operation; replacing a filter may not resolve it. |
| Odour remains after replacement | Investigate its source in the climate system and cabin. |
Note whether the problem begins at start-up, at a particular fan speed or after extended operation. This is more useful to the workshop than assuming the air conditioning needs a refrigerant top-up.
Front and rear filters in the Staria
The replacement procedure describes a front filter behind the glovebox and a rear climate control filter behind a service cover. Confirm whether the rear element is fitted to your vehicle. When booking service, identify the affected unit and agree which filters the work includes.
Ask for the elements to be listed separately afterwards. Replacing the front filter does not establish that the rear one was checked. If dirt or an odour is noticeable in only one part of the cabin, explain this before work starts.
Choosing a replacement
Confirm fitment first
Use the VIN, production year and installation position to identify the part. Do not assume that front and rear elements are interchangeable or order solely from a packaging photograph. Confirm the part number and any fitment restrictions with the supplier or workshop.
Before fitting, compare the frame shape, thickness and dimensions. The old filter can provide a secondary reference, but it may have been selected incorrectly. The replacement should sit in its housing without trimming or heavy compression, and the cover should close without excessive force.
Particle or activated carbon
The explanation on mann-filter.com distinguishes particle filtration from activated carbon: the former captures particles, while the carbon layer also traps certain gases and odours. Select a carbon version only when fitment is confirmed for the relevant Staria climate unit.
| Type | What to consider |
|---|---|
| Particle filter | Captures particles; correct dimensions and seating remain essential. |
| Activated carbon filter | Adds gas and odour filtration; does not remove an odour source inside the system. |
Colour alone is not a reliable guide to remaining service life: carbon media can be dark when new. Look for debris between the pleats, moisture, damage and distortion. Do not wash a disposable element or blast it with compressed air unless its manufacturer specifically permits that service method.
Replacement and checks afterwards
Access and installation direction
Switch off the ventilation and ignition before starting. Front access involves releasing the glovebox stops and removing the filter housing cover; rear access uses a service cover. Follow the procedure for your version and release fasteners before pulling on plastic trim.
Withdraw the element carefully to avoid spilling debris inside. Remove accessible dirt without pushing it into the ducts. Investigate any moisture you find. Refit covers and fasteners, then check that the glovebox operates properly and nothing remains loose.
AIR FLOW indicates air movement; UP identifies the top of the element. fram.com explains this distinction. The Staria instructions show a downward arrow. Match the marking on your replacement to the vehicle diagram: the old filter’s position is not proof that it was installed correctly.
Test several fan speeds and repeat the comparison at the original settings. Assess the rear climate unit separately where fitted. If whistling or rattling appears, check the element’s seating and the cover fasteners first. If airflow remains weak, continue diagnosis.
An article on denso-am.eu links some unpleasant smells to contamination on damp internal A/C surfaces. A new filter does not clean the evaporator. If the smell returns, the workshop needs to identify its source rather than relying on fragrance or another filter replacement.
Post-service checklist
☐ Rear filter fitment checked against the vehicle specification.
☐ Part numbers and installation positions recorded separately.
☐ Element orientation and cover fasteners checked.
☐ Front and rear airflow tested at repeatable settings.
☐ Date, mileage and any remaining concerns recorded.
If you are choosing a minivan, browse current offers for the Hyundai Staria. During an inspection, test ventilation across all seating rows and ask what work was actually carried out on the climate system.
Conclusion
For the Hyundai Staria, use the correct maintenance schedule and consider both filter condition and climate system equipment. Confirm rear filter fitment, select replacements by VIN and check each unit afterwards. Persistent odours, weak airflow or inadequate cooling require further investigation.


