When Should Mercedes-Benz S-Class Brake Pads and Rotors Be Replaced?
Mercedes-Benz S-Class
Mercedes-Benz S-Class•
•21 مشاهدة
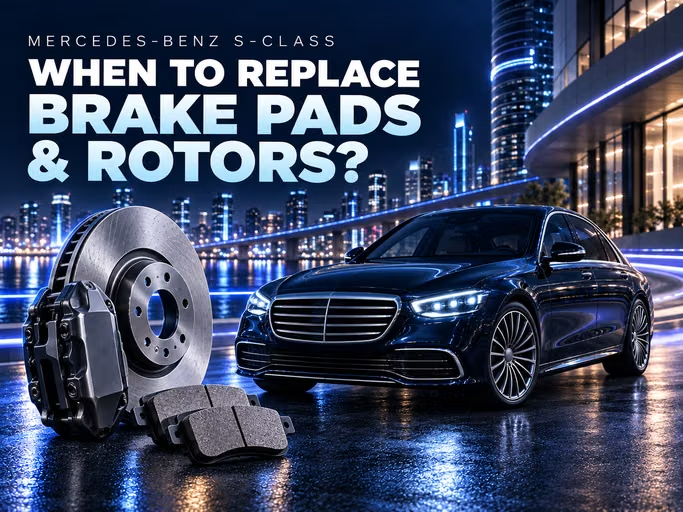
Mercedes-Benz S-Class brake pads and rotors do not share one reliable replacement mileage. Wear changes with the vehicle generation, weight and brake specification, driving style, temperature, road conditions, storage periods, and caliper health. Mileage should trigger an inspection; replacement should follow physical condition and measurement.
A complete assessment covers the inner and outer pads in every caliper, both faces of each rotor, slides, pistons, hubs, wear sensors, and the car's behaviour under braking. Replacing only the obvious worn part without correcting the cause allows noise, vibration, or overheating to return quickly.
Identify the S-Class Version First
The S-Class name covers several generations, standard and long wheelbases, different powertrains, and Mercedes-Maybach derivatives. Rotor dimensions, caliper type, sensors, parking-brake hardware, and repair limits can vary between cars that look similar. Parts cannot be selected safely from model year or wheel diameter alone.
Before ordering consumables, record the VIN, full model designation, chassis and engine codes, build date, drivetrain, and actual wheel size. Then compare those details with the calipers and rotors fitted to the car. The current S-Class page identifies the present model line, but it does not replace identification of the individual brake package.
- W223 and V223. Confirm wheelbase, powertrain, and the factory brake specification.
- Mercedes-Maybach S-Class. Do not transfer dimensions or parts from the standard saloon without a VIN check.
- Earlier generations. Use their own dimensional limits and service procedures.
- Modified car. Aftermarket wheels, calipers, or rotors require inspection of the hardware actually installed.
How a Hybrid Version Changes the Wear Pattern
On a plug-in hybrid, regenerative deceleration may perform part of the braking work. Friction linings can retain thickness for longer during gentle use, yet reduced application does not protect rotor faces from moisture, parking marks, or incomplete contact. Inspect the entire swept area on both sides of each rotor, not only the remaining pad thickness.
Four Reasons to Replace the Components
The specific 2026 S-Class W223 owner's manual explains the warnings and controls for that version. It is useful when responding to vehicle messages, but the final decision on friction components still requires VIN-specific repair data and measurements. Never transfer one universal thickness or mileage between generations.
- Usable friction lining is close to the specified minimum for the fitted caliper, or the vehicle reports wear.
- Rotor thickness, thickness variation, or axial runout is outside the permitted value after correct measurement.
- There are cracks, deep grooves, substantial corrosion, severe heat marks, chips, or contamination on a working surface.
- Uneven wear is linked to damaged pads, caliper parts, or hardware, and safe movement cannot be restored without replacement.
A wear sensor is a warning device, not a measuring instrument for all four wheels. It cannot report every inner pad, both rotor faces, slide movement, or hub condition. The absence of a message does not prove that the complete brake set is healthy.
What to Measure During Diagnosis
Remove the wheels and record results for every corner separately. A view through a wheel spoke shows only part of the outboard surface and can conceal critical wear on the inner pad or inboard rotor face.
| Check | Method | What it reveals |
|---|---|---|
| Both pads | Measure usable lining without the metal backing plate | Differences point to piston, slides, fit, or contamination |
| Rotor dimensions | Measure thickness and variation around the circumference, avoiding the lip | Compliance with the part limit and a possible cause of pulsation |
| Runout and surfaces | Use a dial indicator on a clean hub; inspect both swept faces | Geometry, cracks, heat damage, corrosion, and partial contact |
| Caliper and hub | Inspect piston, boots, slides, hardware, hub face, and bearing play | Cause of taper wear, heat, and risk of repeat runout |
Compare Pads Within Each Caliper and Across the Axle
Compare the inner and outer pads in one caliper, then compare the left and right sides of the axle. Taper wear, a clear difference in thickness, or local heat marks require a check of free movement and boot condition. Cracking, delamination, brake-fluid contamination, and backing-plate damage are assessed separately from remaining thickness.
Judge Rotors by Dimension and Surface Condition
A pronounced outer lip is not a measurement, and a shiny outboard face does not prove that the inboard side is healthy. Resurfacing can be considered only after checking starting thickness and the permitted finished dimension. Cracking, serious corrosion, severe heat damage, or an out-of-limit size will normally require replacement.
Interpreting Noise, Vibration, and Pull
One symptom does not identify one component. Before dismantling, record whether it appears with cold or warm brakes, after washing or parking, only at higher speed, or under light or heavy deceleration. For vibration, note whether it is strongest through the steering wheel, pedal, or body.
| Observation | Possible causes | Next step |
|---|---|---|
| Brief noise after parking | Surface moisture or light corrosion | See whether it clears after several safe brake applications |
| Persistent squeal | Wear, glazing, vibration, contamination, or hardware | Remove wheels and inspect both pads in each caliper |
| Metallic grinding | Wear limit exceeded or debris trapped | Stop normal use and inspect both faces of the rotor |
| Pulsation | Thickness variation, runout, dirty hub, or bearing play | Measure rotor and hub before ordering parts |
| Pull and one hot wheel | Binding, hose fault, contamination, tyres, or suspension | Compare brake force and free wheel rotation |
Why Vibration Does Not Always Mean a Warped Rotor
Changing brake torque can result from transferred pad material, corrosion between rotor and hub, thickness variation, bearing play, or uneven wheel-fastener torque. If a new rotor is installed on a contaminated mounting face, the complaint can return quickly. Confirm the cause with a micrometer and dial indicator rather than an assumption based on pedal feel.
Conditions That Accelerate S-Class Brake Wear
- repeated hard braking in a heavy car and sustained high-speed use;
- urban driving with frequent stops and long periods in dense traffic;
- long descents with continuous pedal pressure;
- high ambient heat, dust, and sand around boots, slides, and pad lands;
- extended parking after washing or moisture exposure;
- tight pad movement, a binding piston, damaged boot, or unsuitable lubricant;
- aftermarket wheels and modifications that affect mass, cooling, or effective load.
High ambient temperature does not create a separate replacement interval, but it reduces cooling margin during demanding use. After overheating, inspect the linings and rotors together with boots, hoses, brake fluid, and free wheel rotation. Fresh pads installed in a binding assembly do not correct the fault.
The Electronic Parking Brake Requires the Correct Procedure
During rear-brake work, do not force the actuator mechanically without the prescribed service mode. The sequence for moving the mechanism into and out of its installation position depends on the version. After assembly, verify messages, parking-brake operation, and the system's basic functions using the procedure for the individual vehicle.
Inspection and Service Checklist
The sequence should move from vehicle identification to measurement, correction of the cause, assembly, and final verification. It is suitable for scheduled service and for assessing a used S-Class.
☐ Record the VIN, model designation, chassis code, powertrain, drivetrain, and wheel size.
☐ Define the complaint, when noise or vibration occurs, and the normal operating pattern.
☐ Read brake-system messages before dismantling and retain diagnostic information.
☐ Remove every wheel and measure the inner and outer pads in each caliper.
☐ Measure rotor thickness at several positions and compare it with the exact part limit.
☐ Check thickness variation, runout, hub cleanliness, and bearing play.
☐ Inspect pistons, boots, slides, hardware, hoses, and the parking-brake mechanism.
☐ Select pads, rotors, sensors, and single-use hardware by VIN and installed assembly.
☐ Assemble to the correct procedure and tighten the wheels evenly.
☐ Complete the specified bedding process and verify pedal, warnings, and safe braking.
Mistakes to Avoid
- selecting parts from the S-Class name alone without the VIN and a caliper check;
- replacing one pad or only one side of an axle;
- judging a rotor from its shiny outer face without measurement or an inboard inspection;
- installing new components before correcting restricted movement or hub corrosion;
- clearing warnings before repair and final verification are complete;
- conducting a road test with an unsafe pedal, a leak, or an overheated wheel.
Conclusion
Mercedes-Benz S-Class brake pads and rotors should be replaced according to measured condition and the limits for the exact version, not one universal mileage. Confirm the VIN and installed brake package, compare every pad, measure the rotors, inspect calipers and hubs, and correct the reason for uneven wear.
When considering a used S-Class, current listings help establish the available generations and specifications, but photographs and stated mileage do not prove brake condition. Verify history, inspect the car on a lift, use measuring tools, and complete a safe road test after the initial diagnosis.